How to Start an Isopod Colony
4 min read
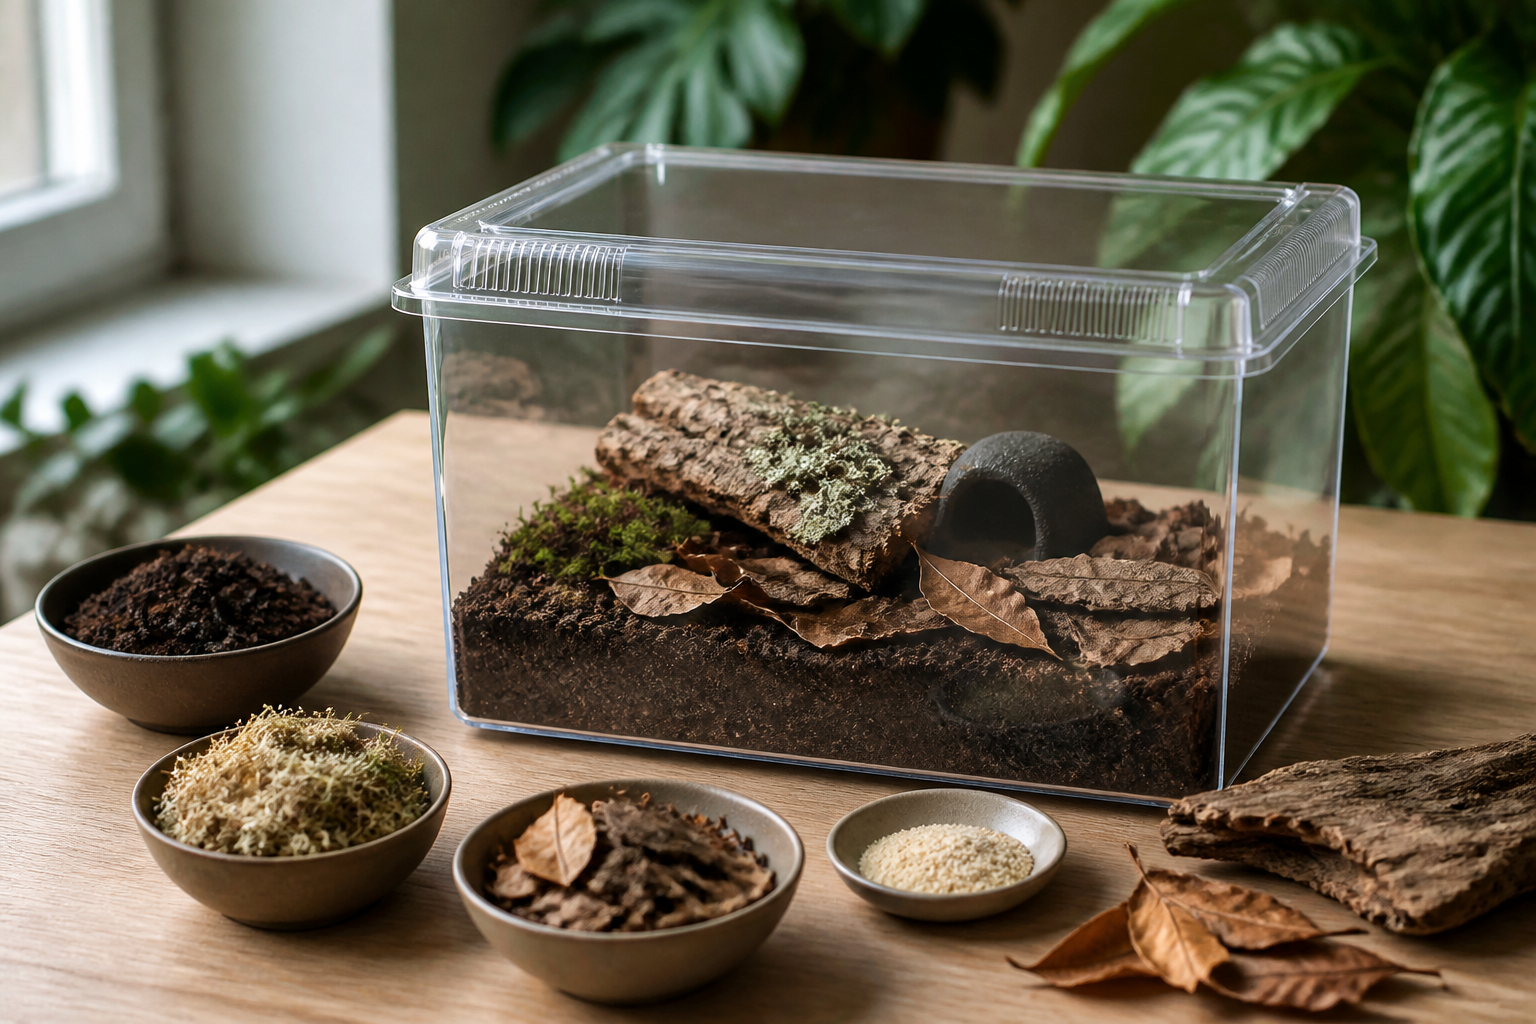
Isopods, often called pill bugs, roly-polies, or woodlice, are small crustaceans that eat decaying plant matter. Hobbyists keep them as fascinating pets, as feeders, and as the clean-up crew in bioactive terrariums. A colony is easy and inexpensive to start, and it can grow on its own for years. This guide covers a simple first setup.

What isopods need
Isopods are crustaceans, not insects, and they breathe through gill-like structures that need moisture. That one fact explains most of their care. They need:
- Humidity and a moisture gradient, with some areas damp and others drier
- Hiding places to feel secure
- Food: decaying leaves, wood, and supplemental foods
- Calcium for their exoskeletons
- Moderate temperatures, usually room temperature
- Ventilation, so air does not stagnate
Choosing a container
A plastic storage tub with a lid is the classic choice. Sizes of about 6 to 10 quarts work well for a starter colony. Opaque or translucent containers are fine, since isopods prefer low light.
Ventilation is important. Drill or melt several small holes in the lid and the upper sides, or cut a larger opening and cover it with fine mesh. Too little ventilation leads to stale, sour conditions, and too much dries the colony out. Start with a modest number of holes and adjust.
Building the substrate
Isopods live in their substrate and eat parts of it, so it should be natural and free from chemicals. A popular mix includes:
- Organic topsoil or a plain potting soil with no fertilizers, pesticides, or wetting agents added
- Coconut coir or sphagnum moss to hold moisture
- Leaf litter on top, which provides food and cover
- Decaying hardwood pieces
Mix the soil and coir, moisten until it clumps lightly in your hand without dripping, and fill the container two to three inches deep. A little sand or orchid bark mixed in can help drainage and aeration. Avoid pine, cedar, and other resinous softwoods, which can harm isopods.
Creating a moisture gradient
Keep one side of the container damp and the other side drier. Isopods will move to the area they prefer. You can do this by misting or pouring a little water on one side only. Never let the whole substrate become soggy, and never let it dry out completely. A good rule is that the damp area should feel like a wrung-out sponge.
Add leaf litter and hides
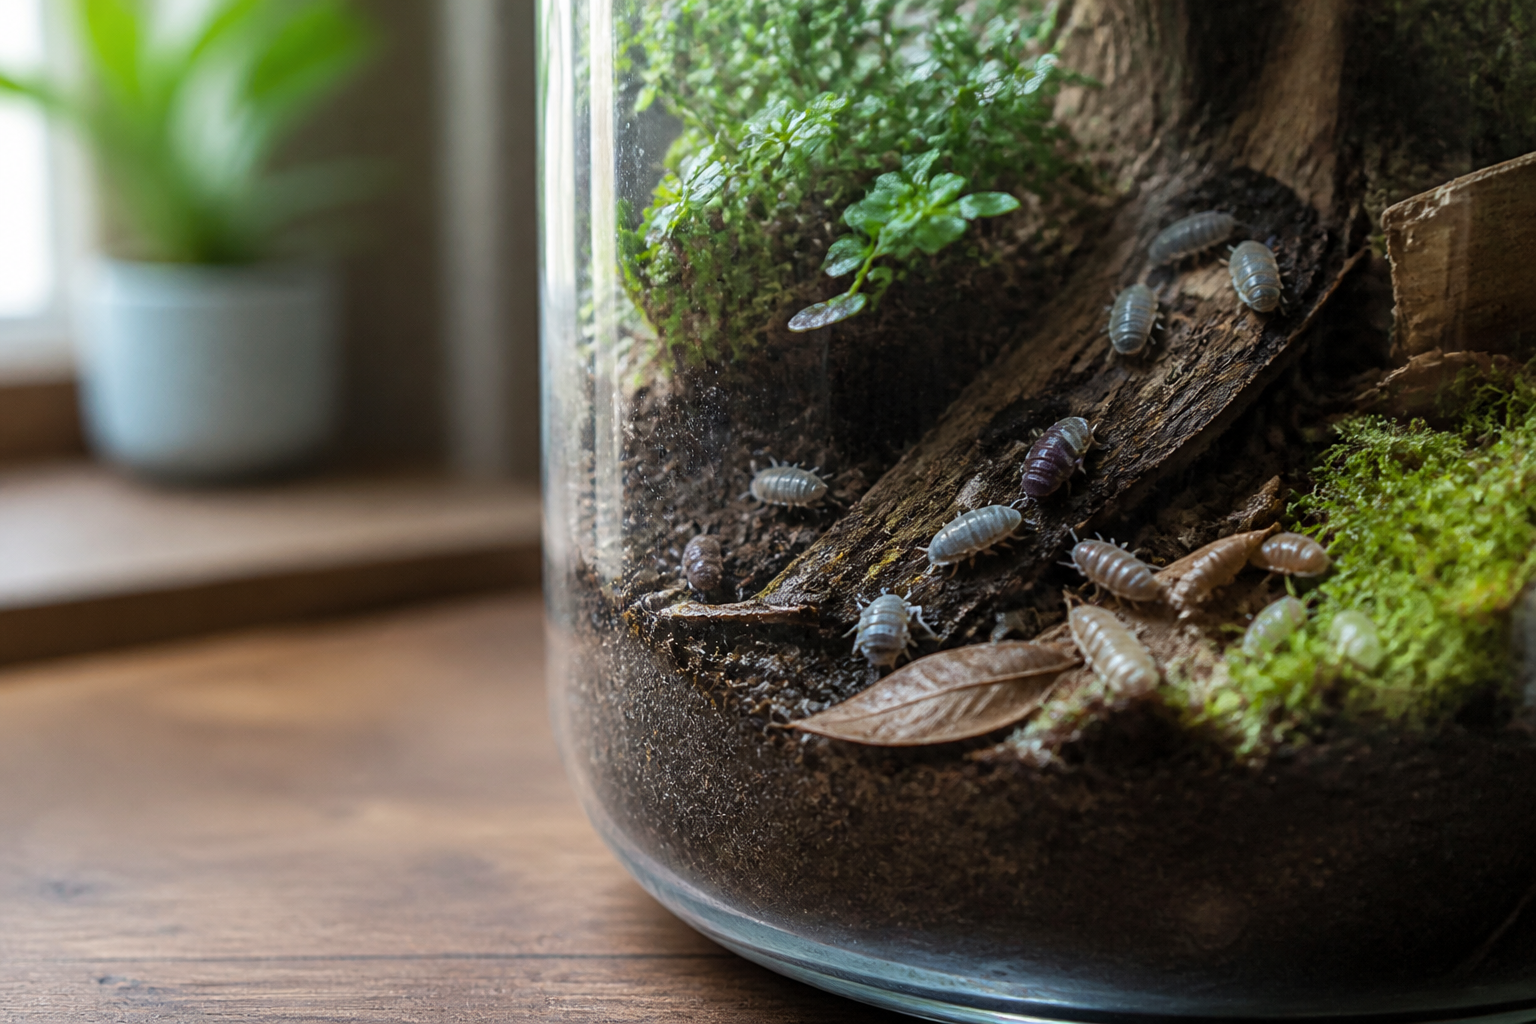
Cover the surface with dried leaves. Oak, maple, and magnolia leaves are popular, as are other chemical-free hardwood leaves. Collect them from an area that has not been sprayed with pesticides, and avoid roadsides. Add pieces of bark, cork bark, or flat pieces of wood for hiding. A varied layout helps the colony settle quickly.
Choosing your isopods
For a first colony, choose a hardy, prolific species. Several are popular with beginners, including dwarf whites, powder blues, and others. See our guide to the best isopods for bioactive terrariums for a comparison. Buy from a reputable breeder rather than collecting wild isopods, since wild animals can carry parasites or be an invasive species in your area.
How many to start with
A starter colony of around 10 to 25 isopods is typical. A larger group helps, because isopods breed better in groups, and it protects against losses in the early weeks. Smaller colonies are slower to take off.
Feeding
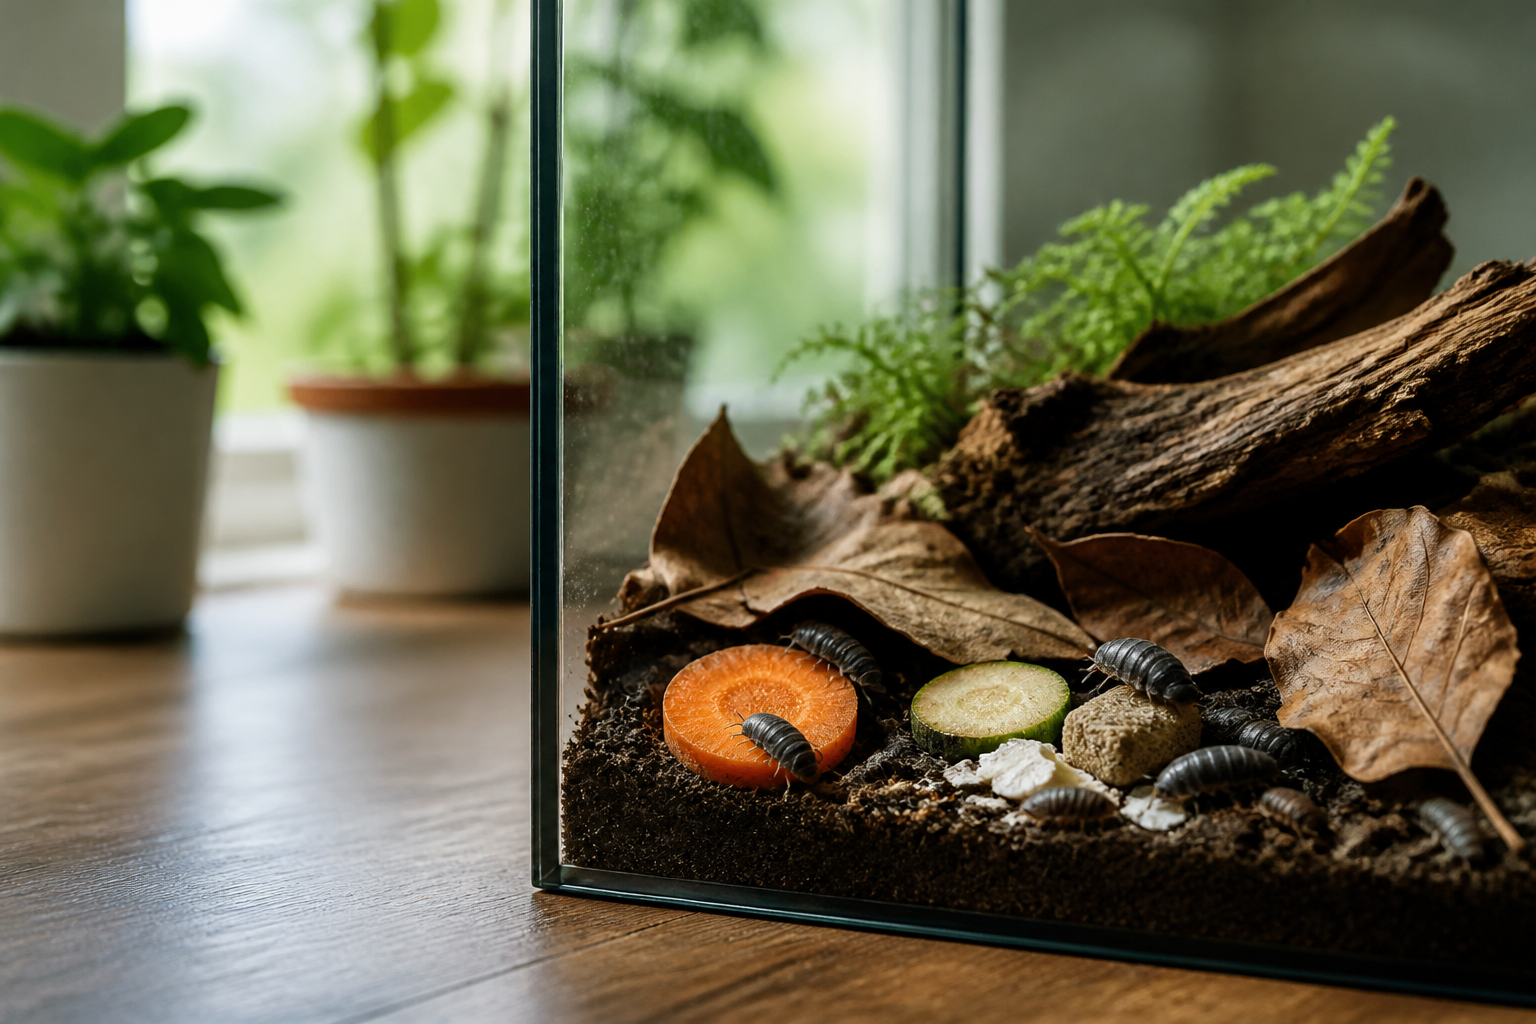
Your colony will graze on leaf litter and decaying wood, which should always be available. Supplement with small amounts of fresh food once or twice a week, such as vegetables, and a calcium source such as cuttlebone or crushed eggshell. Remove uneaten fresh food after a day or two to prevent mold. See what isopods eat for a full list.
Temperature and location
Most common species do well at room temperature, roughly 65 to 80 degrees Fahrenheit. Keep the colony out of direct sun and away from heaters. Low light is fine.
Care routine
- Check moisture weekly, adding water to the damp side as needed.
- Add food as needed and remove leftovers.
- Add new leaf litter as the old breaks down.
- Watch for pests, such as mold, mites, or flies, and adjust moisture and feeding.
- Leave them alone as much as possible. Isopods breed best in a stable environment.
Springtails help
Many keepers add springtails, tiny soil dwellers that eat mold and help keep the colony clean. See what springtails are and whether you need them.
How fast will the colony grow?
It depends on species, temperature, and food. Some species breed quickly and can double in a few months. Others are slow. Be patient, and do not disturb the colony constantly. If you plan to put isopods in a terrarium, see how to set up a bioactive terrarium.
If you would like help with planning a colony or a terrarium, our plant care service can point you in the right direction.
Frequently asked questions
How many isopods do I need to start a colony?
Around 10 to 25 is a good start. Isopods breed better in groups, and a larger starting number helps the colony establish.
Do isopods need water?
They need humidity, not standing water. Keep part of the substrate damp and part drier so they can choose, and mist as needed.
What kind of container is best for an isopod colony?
A plastic tub with a ventilated lid is the usual choice. Six to ten quarts suits a starter colony.
Can I collect isopods from my yard?
It is possible, but wild isopods can carry parasites, and some are not suitable for terrariums. Buying from a reputable breeder is safer.