How to Set Up a Bioactive Terrarium
4 min read
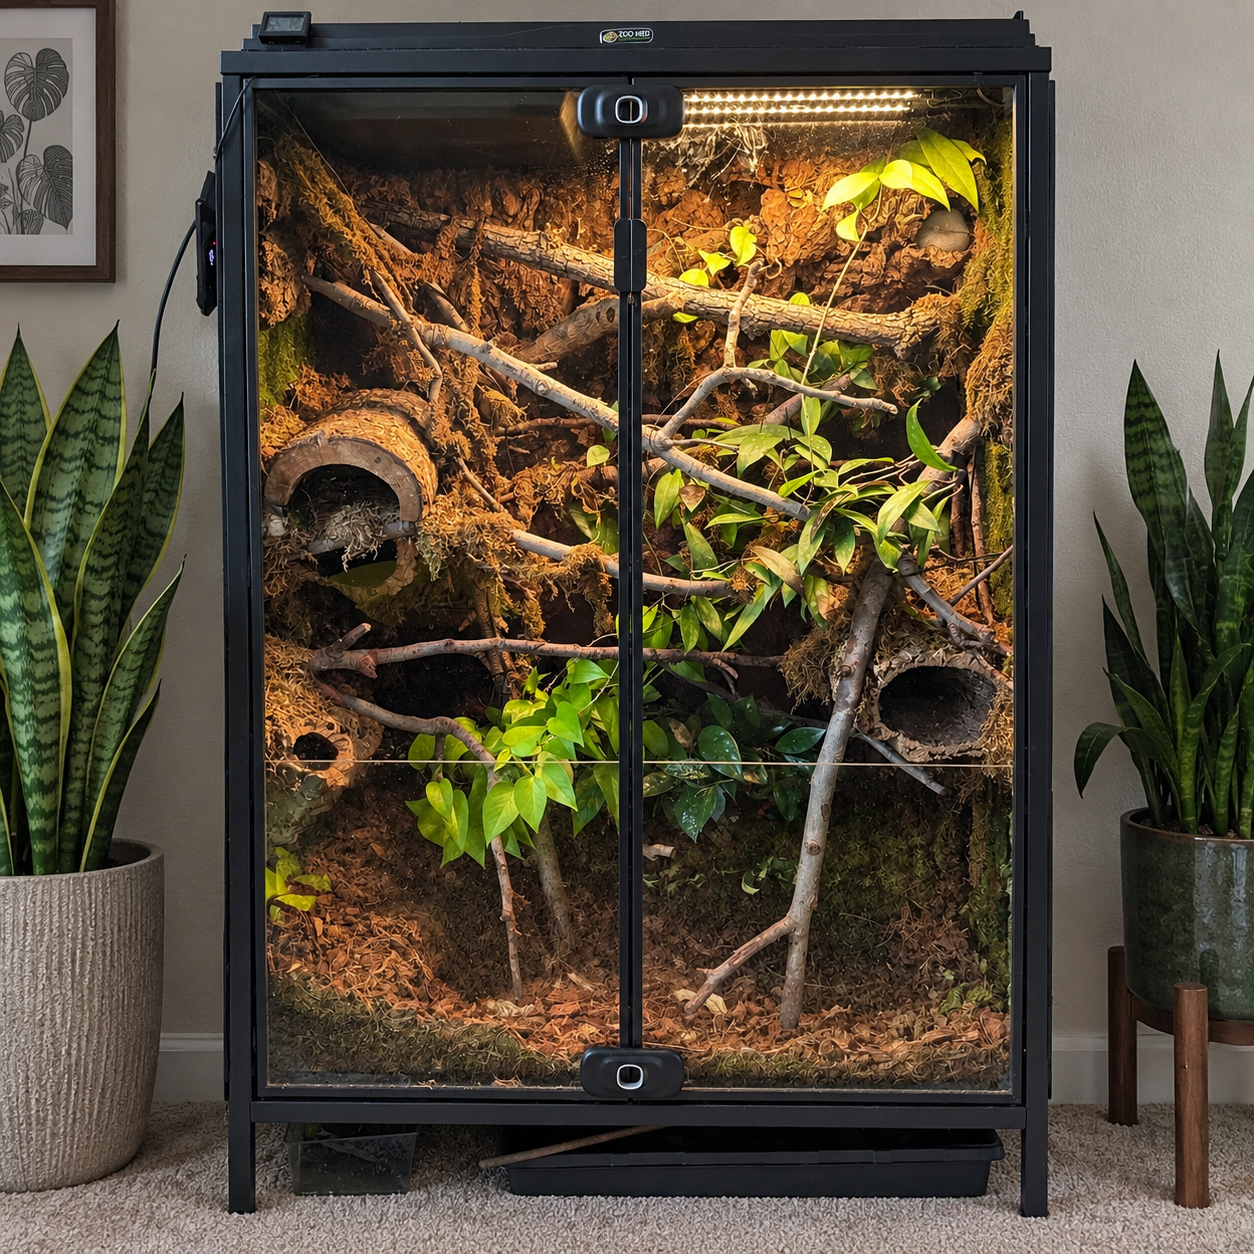
A bioactive terrarium is a small ecosystem in a glass enclosure. Living plants, soil, and a clean-up crew of tiny invertebrates work together to break down waste and keep the space healthy. Done well, it looks beautiful and needs less maintenance than a sterile setup. This guide covers the layers, plants, and crew you need, and how to put them together.

What bioactive means
In a normal enclosure, waste and dead leaves pile up, and you remove them by hand. In a bioactive setup, a clean-up crew eats that waste, and bacteria and fungi in the soil break it down further, returning nutrients to the plants. The result is a balanced, living system. It is not maintenance free, but it is much more self-sustaining.
Choosing the enclosure
Glass terrariums with a front opening or a secure lid work well. Choose a size that fits your plants, and remember that larger enclosures are more stable, since small ones swing quickly in humidity and temperature. Ventilation matters. Fully sealed containers can grow mold, while very open ones dry out. A lid with a mesh section is a good middle ground.
The layers
A bioactive terrarium is built in layers, from bottom to top.
1. Drainage layer
At the bottom, place a layer of drainage material, such as hydroballs (expanded clay pebbles) or lightweight clay aggregate, about one to two inches deep. This collects excess water so that the soil does not become waterlogged. It is sometimes called a false bottom.
2. Barrier
Put a mesh or landscape fabric barrier over the drainage layer. This stops soil from washing down into it while allowing water through. Use plastic or fiberglass mesh, not metal that can rust.
3. Substrate
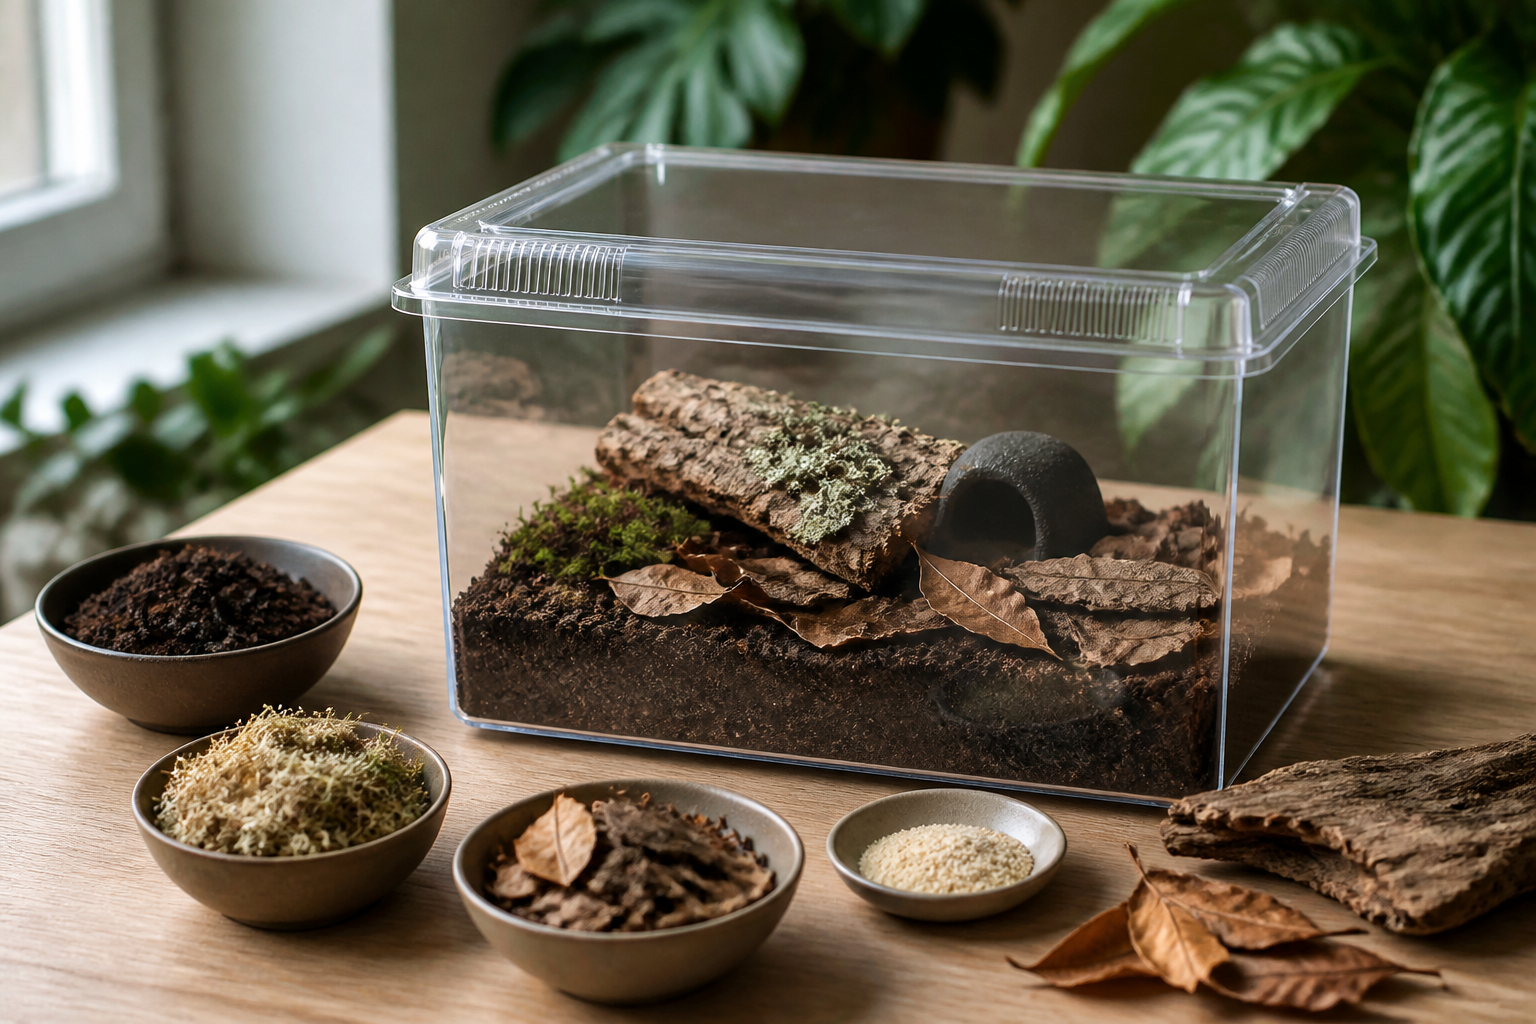
Add a few inches of substrate. Many keepers use a blend of organic topsoil or a plain potting soil without fertilizers, with coconut coir, sphagnum moss, orchid bark, and a little charcoal for aeration. The mix should hold moisture, drain, and stay loose. Avoid soils with added fertilizers, pesticides, or wetting agents.
4. Leaf litter and wood
Cover the surface with dried hardwood leaves, such as oak or magnolia, and add pieces of rotting wood, bark, and moss. This gives the crew food and shelter, and makes the terrarium look natural.
Choosing plants
Pick plants that suit the enclosure's light and humidity. In a humid, lower-light terrarium, good options include:
- Pothos and philodendron, which are easy and forgiving. See pothos versus philodendron.
- Ferns, such as button ferns and small, humidity-loving types
- Fittonia (nerve plant)
- Creeping fig
- Peperomia
- Mosses, which carpet the surface beautifully
Avoid large, fast growers, and plants that need dry air, such as succulents, unless you build a dry, desert style setup instead. Plants rely on light. Place the terrarium in bright, indirect light, or use a small LED grow light. Direct sun through glass can overheat a terrarium quickly. For help judging light, see what bright indirect light means.
Adding the clean-up crew
The clean-up crew is what makes the terrarium bioactive.
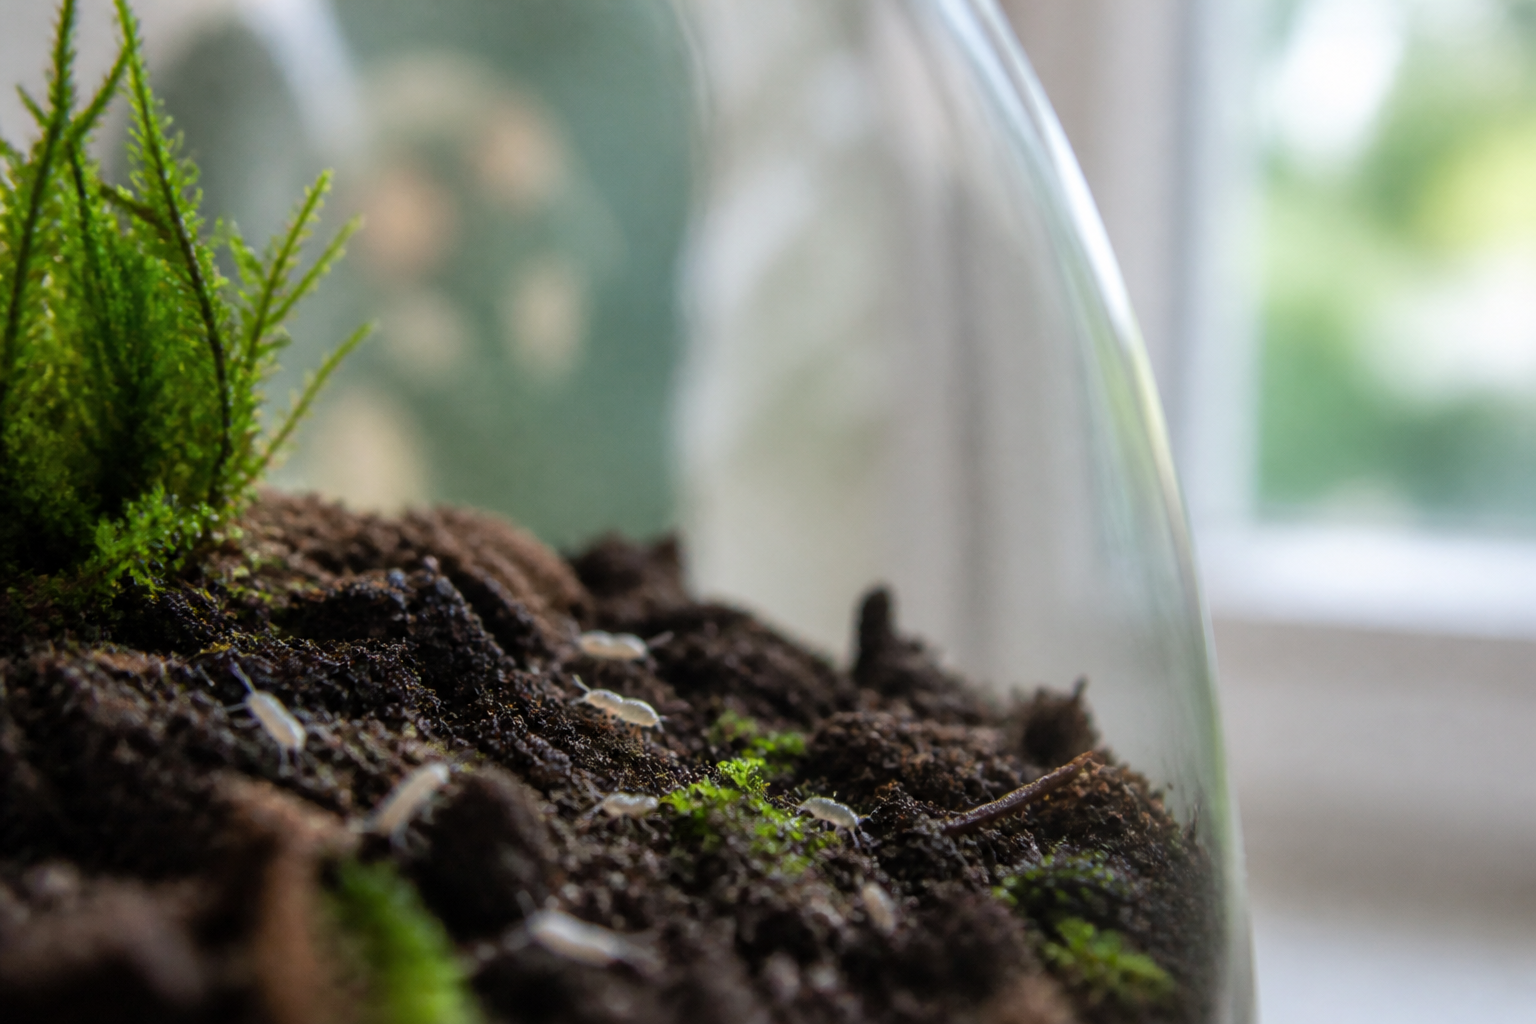
- Springtails eat mold and fungus, and they thrive in humid soil. See what springtails are and whether you need them.
- Isopods eat decaying leaves, wood, and waste. See the best isopods for bioactive terrariums and how to start an isopod colony.
Add them after the plants are in and the substrate has settled. A small group of each is enough to start, and they will multiply to match the available food. Feed lightly at first, with leaf litter and occasional supplements. See what isopods eat.
Step by step
- Clean the enclosure with water only, or a diluted vinegar solution, and rinse well. Avoid soaps and chemicals.
- Add the drainage layer.
- Lay the mesh barrier.
- Add the substrate, and moisten it until it holds together without dripping.
- Plan the layout, with taller plants at the back, and plant them. Use small, healthy plants, and rinse their roots of commercial potting mix if it contains fertilizer or perlite you do not want.
- Add hardscape, such as wood and rocks.
- Add leaf litter and moss.
- Mist lightly to settle everything.
- Wait a few days, and then add springtails and isopods.
Humidity and watering
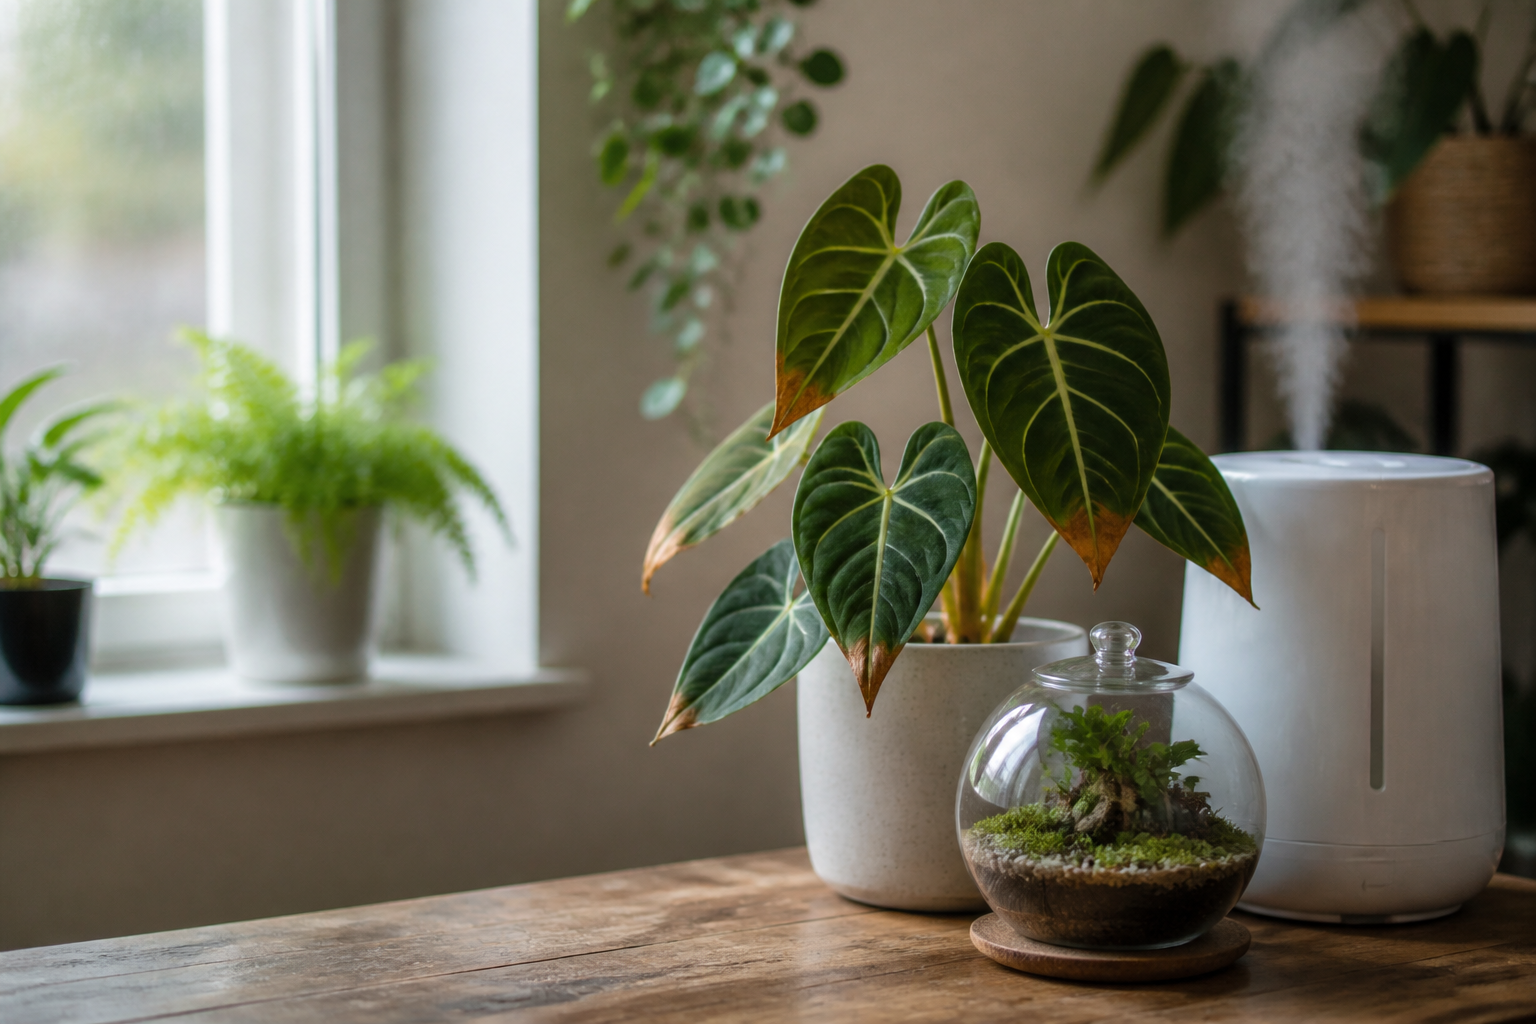
Mist lightly, enough to keep the substrate damp but not soaked. The right amount depends on your plants and enclosure. Check the substrate regularly. If water pools in the drainage layer, hold back on watering. For general humidity guidance, see how to increase humidity for houseplants.
Maintenance
- Trim plants when they get too large.
- Add leaf litter as it is eaten.
- Wipe the glass if needed.
- Watch for mold. A little is normal, and springtails help. Large outbreaks suggest too much moisture or too little ventilation.
- Do not use pesticides or chemical cleaners inside.
If you would like help planning a terrarium, our plant care service can advise on plants and layout.
Frequently asked questions
Do bioactive terrariums need cleaning?
Less than traditional setups. The clean-up crew breaks down waste, but you still need to trim plants, add leaf litter, and keep an eye on moisture and mold.
What is the false bottom in a terrarium for?
The drainage layer collects excess water below the soil, which helps prevent waterlogged roots and stagnant substrate.
Can I make a bioactive terrarium without a clean-up crew?
You can grow plants in a terrarium without one, but it will not be bioactive. Springtails and isopods are what make the system break down waste.
How long before a bioactive terrarium is established?
Usually a few weeks for the plants to settle and a couple of months for the crew and soil life to balance. Be patient and avoid heavy changes.